Hydroponics & Irrigation
1,477 products from 126 brands
1,477 products from 126 brands
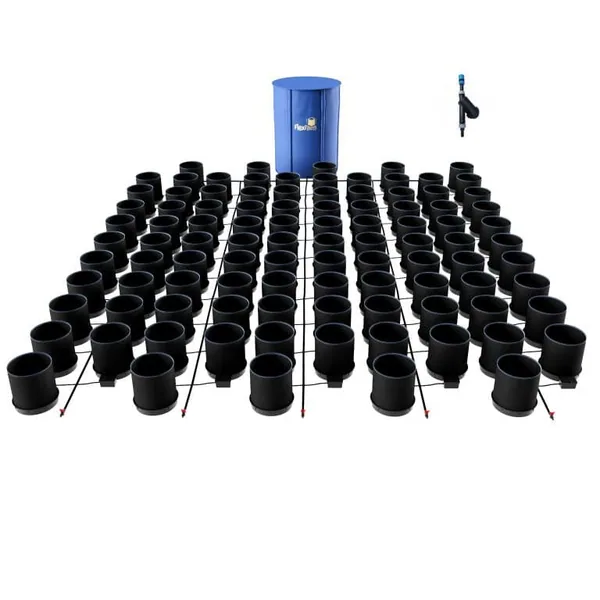
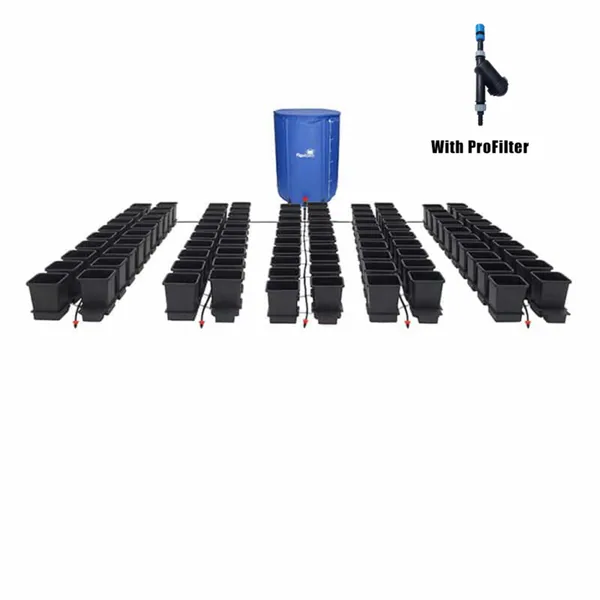
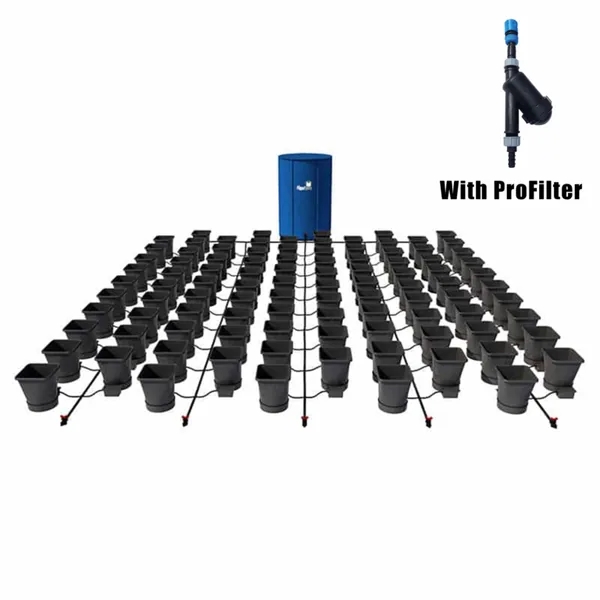
Explore hydroponic systems and irrigation equipment at Toledo Indoor Garden, proudly serving Ohio growers with thousands of products in stock. From ebb-and-flow tables and deep water culture buckets to drip systems and water filtration, we carry it all. Visit our Toledo store or call 419-725-2450 for expert advice on choosing the right hydro setup.
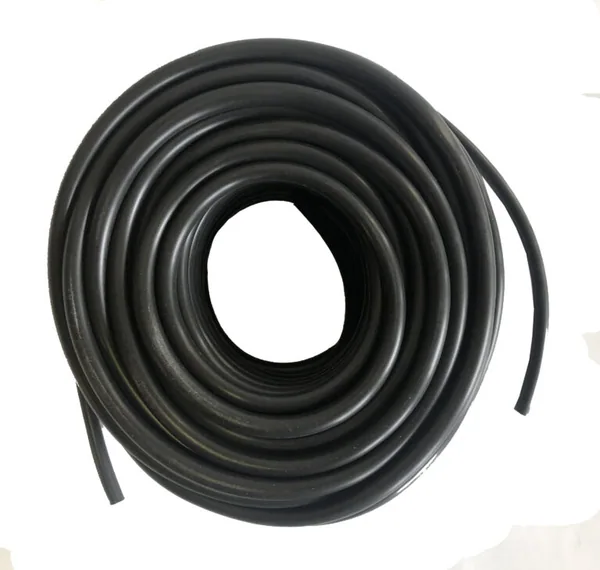
Match pumps, tubing, fittings, reservoirs, injectors, and emitters by flow rate, pressure, line size, filtration, and number of plants or zones.
Showing 1–24 of 1461 products
 3 sizes
 5 sizes
 17 sizes
 2 sizes
 2 sizes
 8 sizes
 8 sizes
These focused pages help shoppers get directly to high-demand outdoor garden products without relying on filter-only URLs.